This blog is written by Erik Schettig (teacher in the RET program) and Dylan Overton (student in the young scholars program) and is part of their program activities.
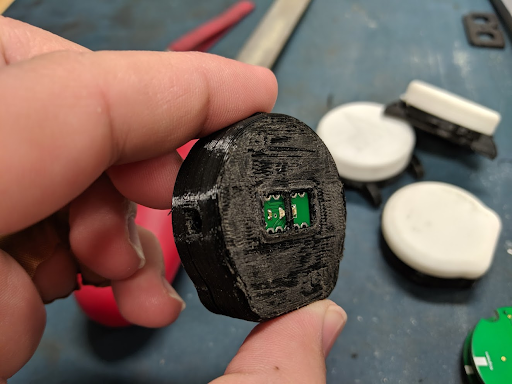
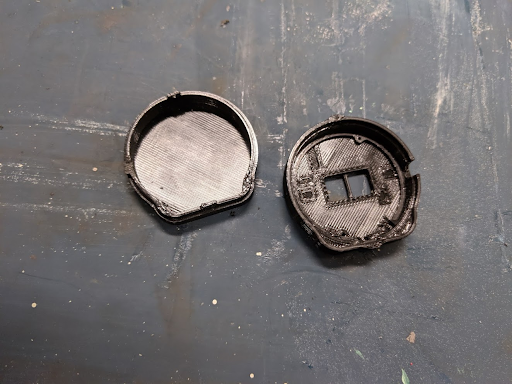
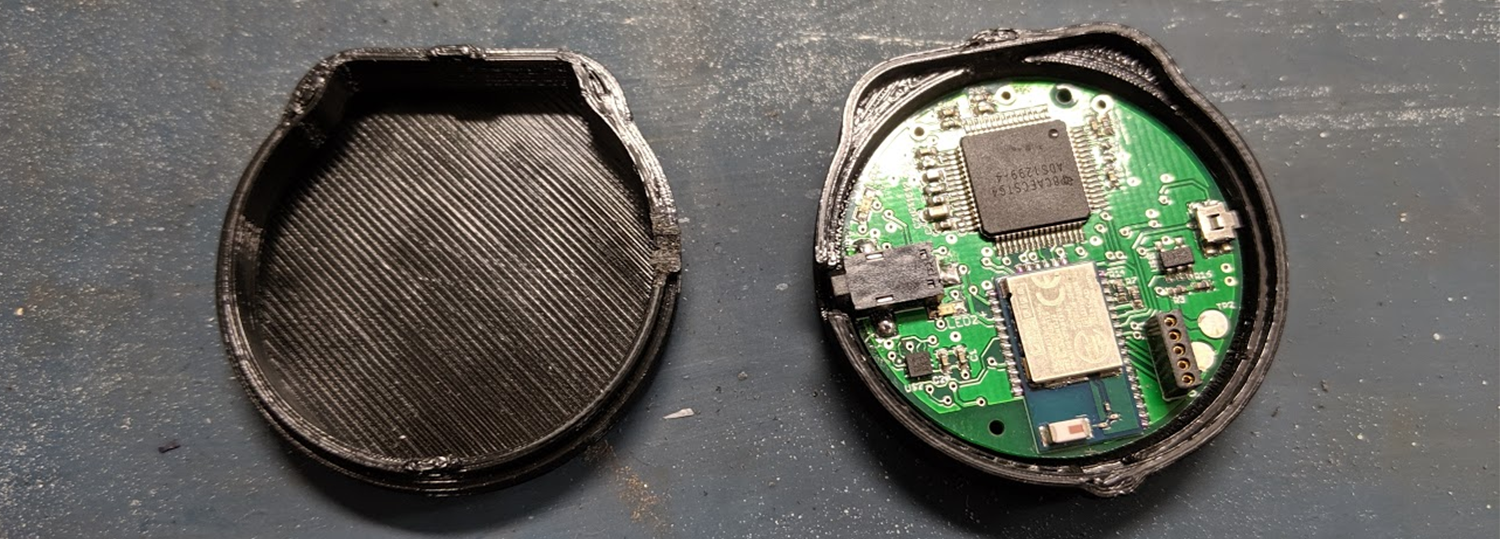
While Erik and Dylan worked on their 3D printed cases, some of the tops and bottoms cracked (see last week’s blog). To overcome this problem, they 3D printed replacements. As if that problem wasn’t enough already, they also discovered that some chest patches were warped a bit. This could lead to possible inaccurate readings. Erik and Dylan solved this issue by editing the chest patch CAD file and 3D printing it to provide a better fit for the board. After they got the design corrected, printed, and sanded the parts, they fitted all the board parts inside. Finally, everything fit just right!
Once boards were fitted, the student-teacher pair began testing devices. They applied a variety of conditions and environments to the chest patch to gain a range of performance information. Using an accelerometer in the chest patch, they observed what physical activity a user would experience before or during an asthma attack.
To show cast their project, Erik and Dylan started working on their team poster for the summer research symposium held on July 26. In this poster they are including information about the applications of the device, the steps they went through to construct it, and what role the boards play. Pictures, charts, and information are all arranged to communicate the goals of the project and future work.